 Connect
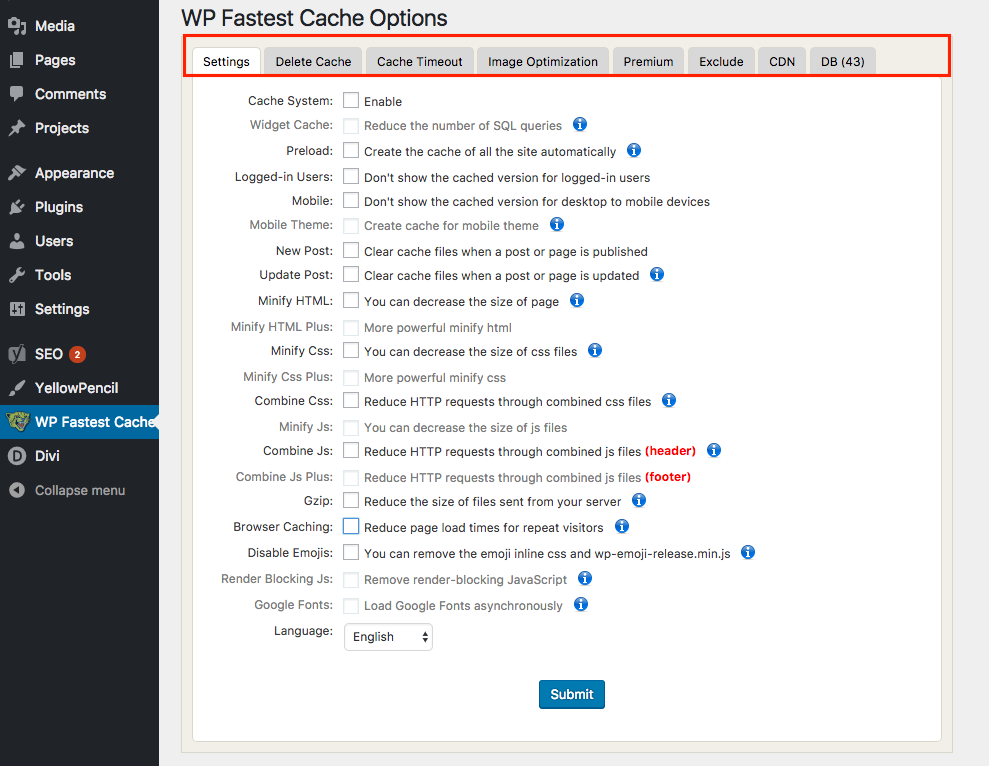
After installing the plugin, start digging into the customisation settings by clicking on the WP Fastest Cache link in the menu bar.

This directs you to the Options page, where you will really begin to utilise the plugin’s features. We will focus on each one of the tabs in the option menu.
1. Starting with the first tab, Settings, we will start implementing the caching system. Check the first box, Enable, to allow the plugin to start working on your site.
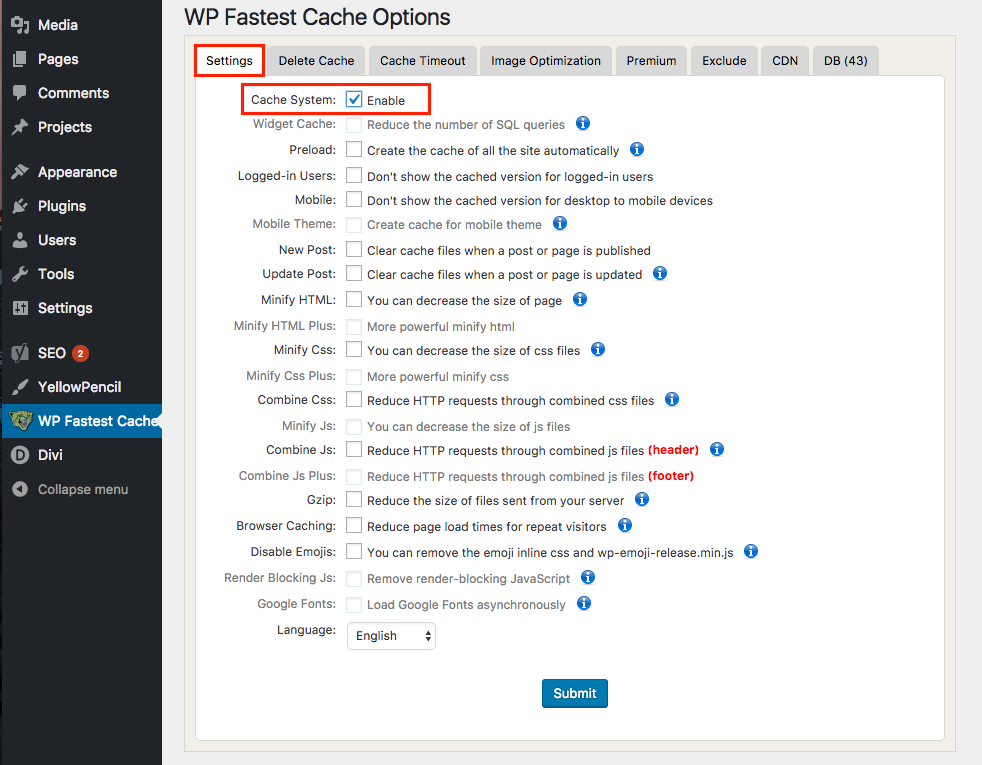
2. The next option, Widget Cache, is grayed out, which means it is not available in the free version of the plugin, in order to use any of the premium option, you will need to upgrade to the paid version. We will focus on the free options in this tutorial.
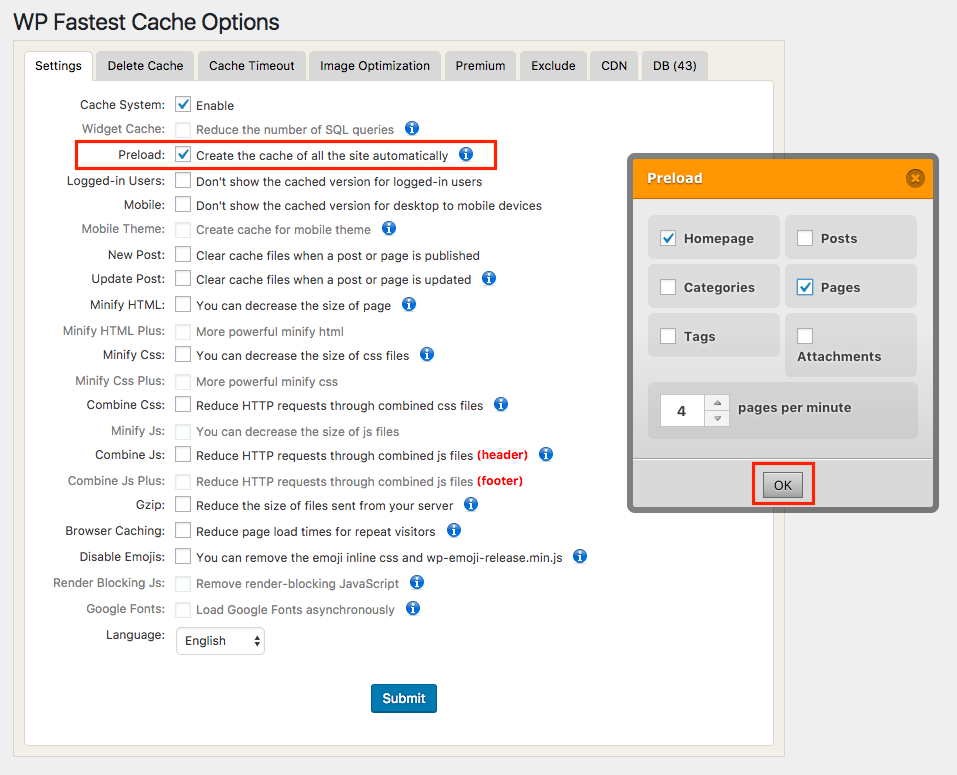
3. The Preload option will generate the page caches automatically, instead of when someone visits the site. Choose which features you want to automatically cache and click OK.
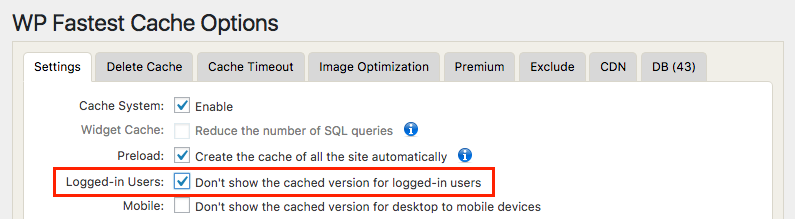
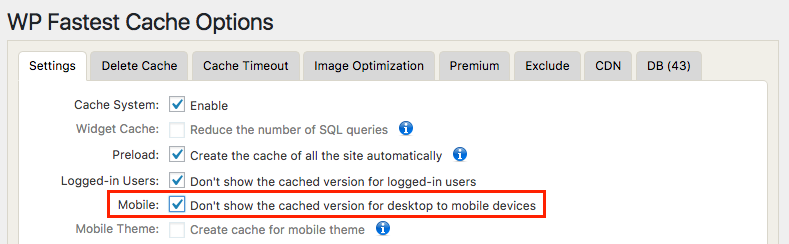
4. The next option allows you to block the cached version for logged-in users and will cause the page to load naturally.
5. After that, we’re also given the option to block the cached desktop page when someone accesses the site from a mobile device.
6. The subsequent Mobile Theme would allow you to cache the mobile version, but is available only to those who purchase the premium version.

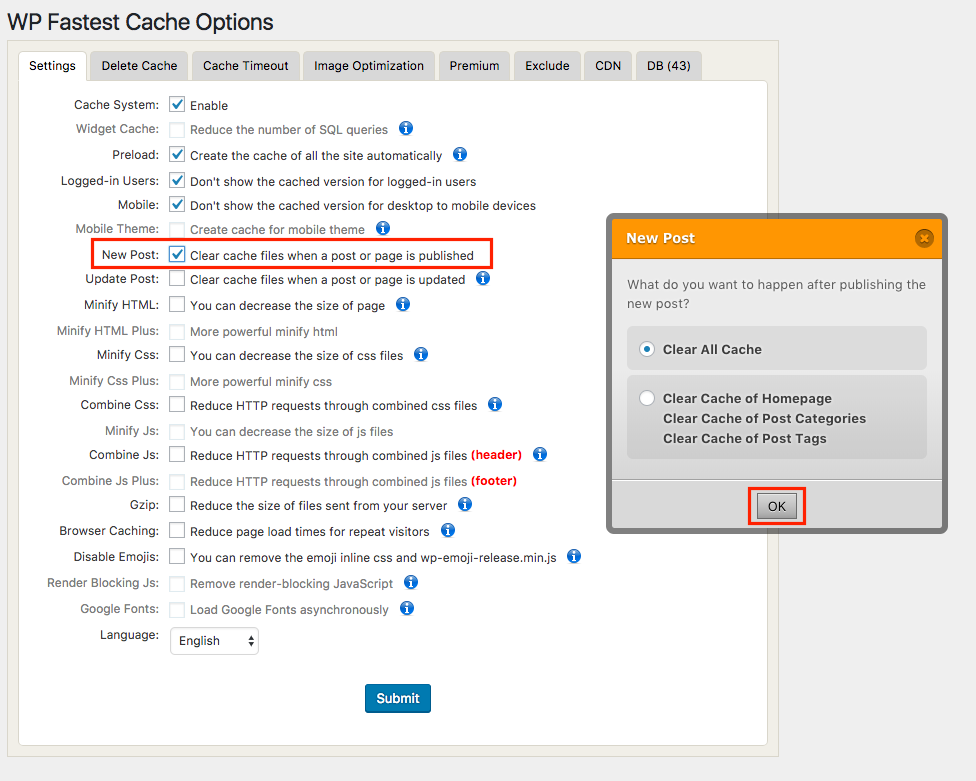
7. New Post allows you to choose which cache files to clear when new content is published on your website.
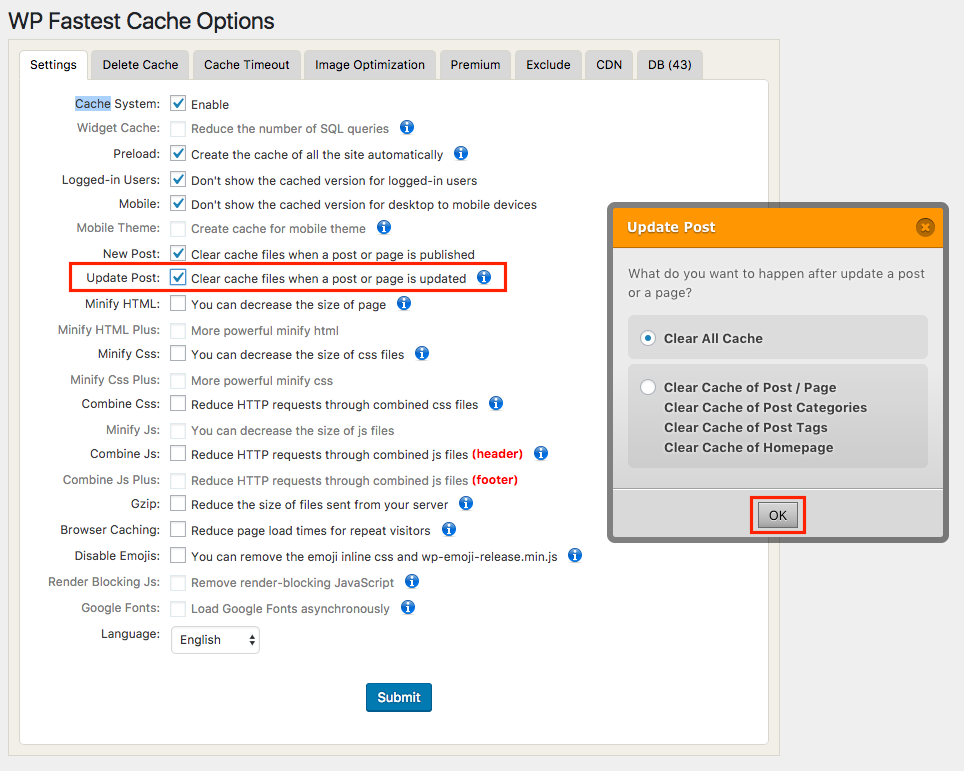
8. Similar to the previous option, Update Post allows you to choose which cache to clear when content is updated on your website.
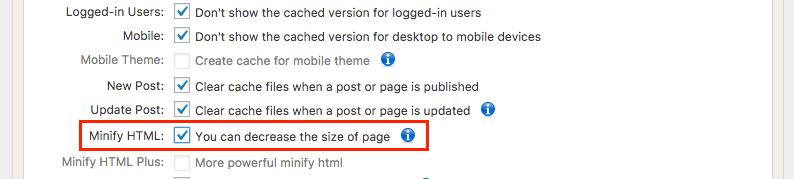
9. Minify HTML allows you to decrease the amount of HTML that composes your cache file, thereby also decreasing the load time for your visitor.
10. Minify CSS actually decreases the size of your CSS files to make page rendering faster.

11. Combine CSS will integrate multiple CSS files into one file in order to reduce the number of HTTP requests and decreasing load time.

12. As with the CSS, the Combine JS option will combine multiple JavaScript files into one file for fewer requests from the server.

13. Gzip compresses the size of files and resources being sent from the server, allowing them to load faster.

14. Browser Caching enables frequently used files (such as CSS and images) to be stored in a visitor’s web browser so the resources will not have to load each time the visitor views the page.

15. The last option on this page is Language. This will only change the language in which the options menu appears for this plugin, not for your site as a whole.
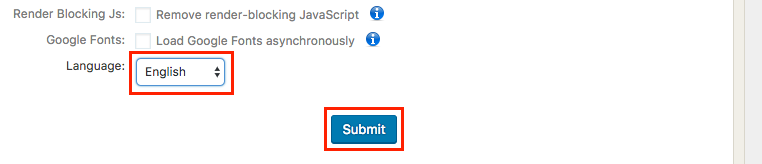
Choose Turkish, for example. Only the words contained in the plugin’s options pages will be changed.

English is the default. Make your selection from the dropdown menu, then click Submit to save the changes you’ve made on this page. You’re well on your way to optimizing your site with a cache system.
Next, let’s check out the second tab in the menu. Delete Cache.
Delete Cache
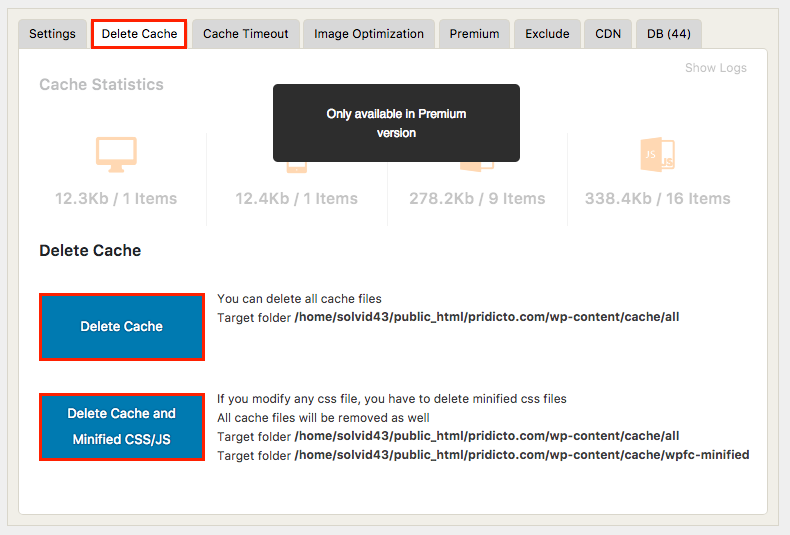
The greyed out features are only for premium subscribers, but the two main options at the bottom are still available.
- Click on Delete Cache to delete every cached file.
- Choose Delete Cache and Minified CSS/JS to delete all caches as well as the minified CSS and JS files created in previous options. The minified versions of CSS and JS are kept in a separate file on the server that the rest of the cache, so choose this second option to delete those as well.
That’s it. Not bad, right?
Grab the free e-book "How to Write Copy That People AND Search Engines LOVE"
If you would like some more information on how to leverage the latest trends for your business, contact Steve at insight.web@insightdesign.com.au or call
.