 Connect
Step 1: Install and activate W3 Total Cache
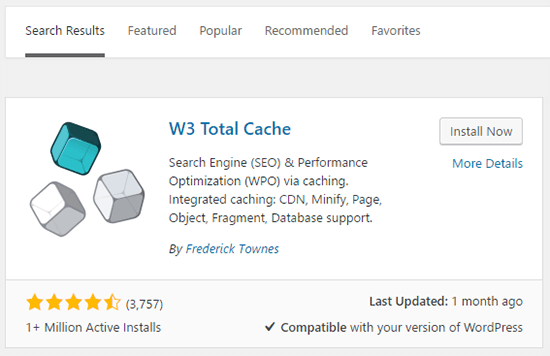
Get started by installing and activating W3 Total Cache. It’s a free plugin available at the wordpress.org plugin directory, so you can install it directly from your WordPress dashboard by going to Plugins → Add New and searching:
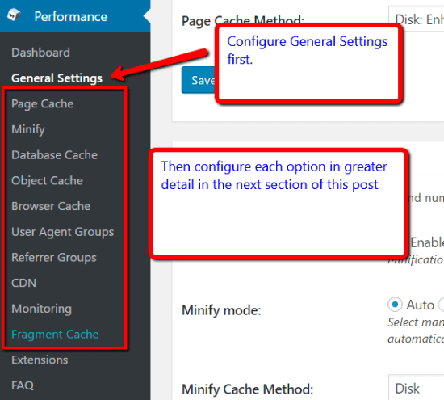
Make sure that you activate the plugin. Then, head to its configuration options by clicking on the Performance tab.
Step 2: Configure general settings
The first thing you need to configure is W3 Total Cache’s General Settings. This tab enables/disables all of the features which you’ll configure in greater detail later on:
I’ll go through it in order from top to bottom.
- General
The first option allows you to automatically enable every W3 Total Cache feature. Unfortunately, you won’t need every single feature, so you should not use this option.
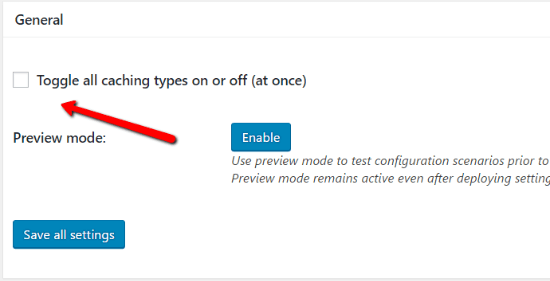
It also lets you enable Preview mode. In preview mode, you can test changes before deploying them to your live site. I personally don’t use Preview mode,because it’s easy to just disable the plugin if anything goes awry.
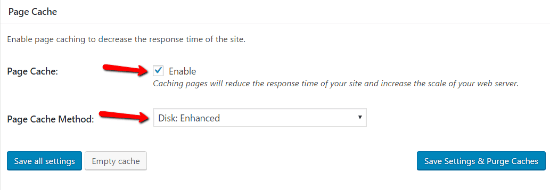
- Page Cache – ENABLE
This is the absolute most important feature of W3 Total Cache. Page Cache alone will massively improve your site’s performance.
Definitely, Enable Page Cache. For the method, you should choose the Disk: Enhanced option, which should be the default:
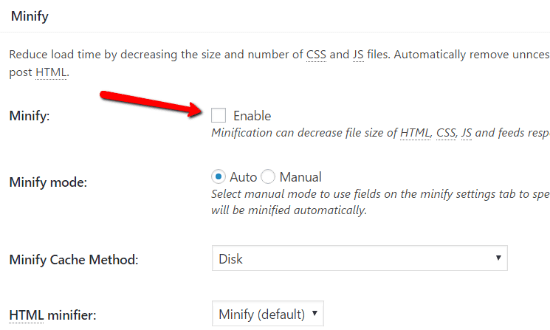
- Minify – DISABLE
Minify can shrink your site’s code without losing any of its functionality. You definitely want to minify your code for improved page load times. BUT, CloudFlare also supports minification. So I will actually recommend using CloudFlare to minify your code instead.
Therefore, do not enable Minify in W3 Total Cache if you’re planning to follow this full tutorial and use CloudFlare.
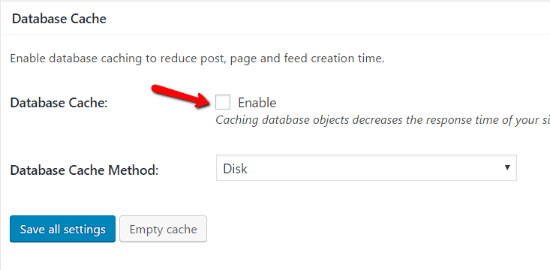
- Database Cache – DISABLE
Your database is where all of the actual data for your posts, pages, and everything else is stored. Database Cache can improve your database’s performance and reduce the time it takes to create posts, pages, and RSS feeds.
But if you’re on shared hosting, database caching can actually slow down your site by offloading too much work to your server’s CPU.
So if you’re on budget shared hosting, I recommend leaving Database Cache Disabled. If you have a dedicated server or VPS, you can enable it.
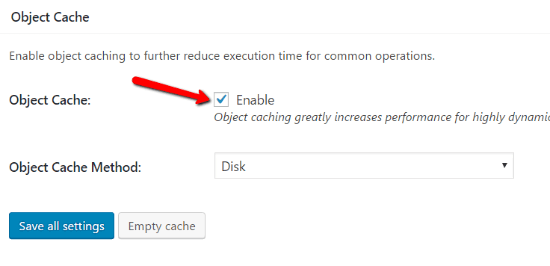
- Object Cache – ENABLE
Object Cache is another one that may or may not play well with shared hosting. It’s worth trying, but if you ever notice that your WordPress admin dashboard is running slowly, you may want to go back and disable this at a later date.
But for now, Enable Object Cache and choose the Disk method:
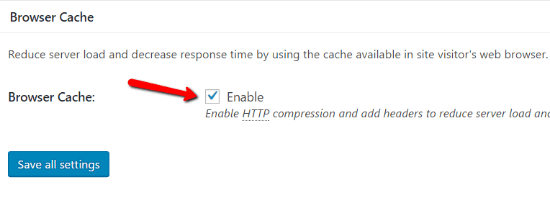
- Browser Cache – ENABLE
Browser Cache speeds up your site by caching static resources in your visitors’ browsers, thereby eliminating the need to constantly reload static content.
You definitely want to Enable this option:
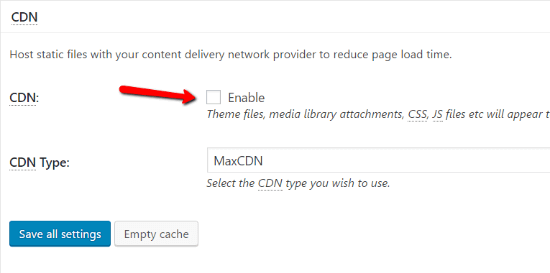
- CDN – DISABLE
While you will be using a CDN (CloudFlare), this is not where you will configure it. So leave CDN Disabled. Don’t worry – I’ll show you how to handle CloudFlare later on.
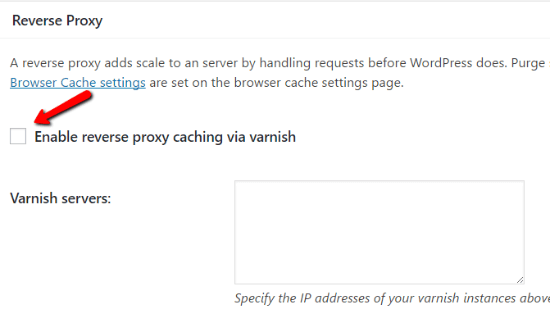
- Reverse Proxy – DISABLE
Reverse proxies are an advanced concept that generally require private hosting. Therefore, you can leave this one Disabled.
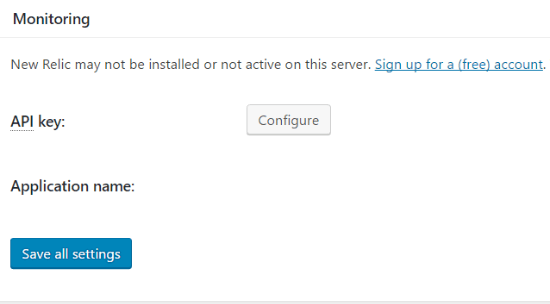
- Monitoring – NO ACTION
You don’t need to configure Monitoring. Just ignore it.
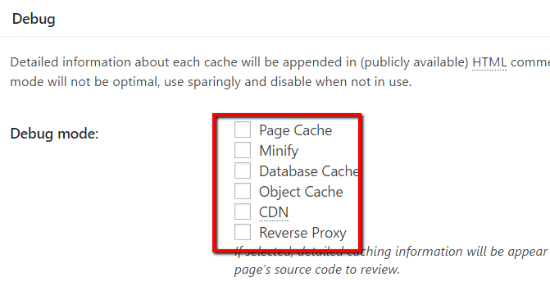
- Debug – DISABLED
Unless you’re actively trying to debug your site, you should leave all of the Debug options Disabled. They’ll only add unnecessary code to your site.
Grab the free e-book "How to Write Copy That People AND Search Engines LOVE"
If you would like some more information on how to leverage the latest trends for your business, contact Steve at insight.web@insightdesign.com.au or call
.